HOW TO MAINTAIN YOUR WORM BIN - Lumbri Worms & Garden, LLC
Share
How to Maintain Your Worm Bin: From Bedding Preparation to Healthy Worms
By Aya Finley | Founder, Lumbri Worms & Garden, LLC
Healthy Worms Begin With Healthy Bedding!
Successful vermicomposting isn't just about putting worms in a container and feeding them kitchen scraps. It's about creating and maintaining a living ecosystem where beneficial microorganisms and composting worms work together.
Whether you're raising Red Wigglers (Eisenia fetida) or European Nightcrawlers (Eisenia hortensis), understanding how to prepare and maintain your worm bin is essential for healthy worms and quality worm castings.
At Lumbri Worms & Garden, LLC, we recommend preparing your worm bin at least TWO WEEKS before introducing your worms.
Here's why—and how to maintain your bin once your worms arrive.
1. Choose the Right Worm Bin
A worm bin doesn't have to be expensive or complicated.
You can use:
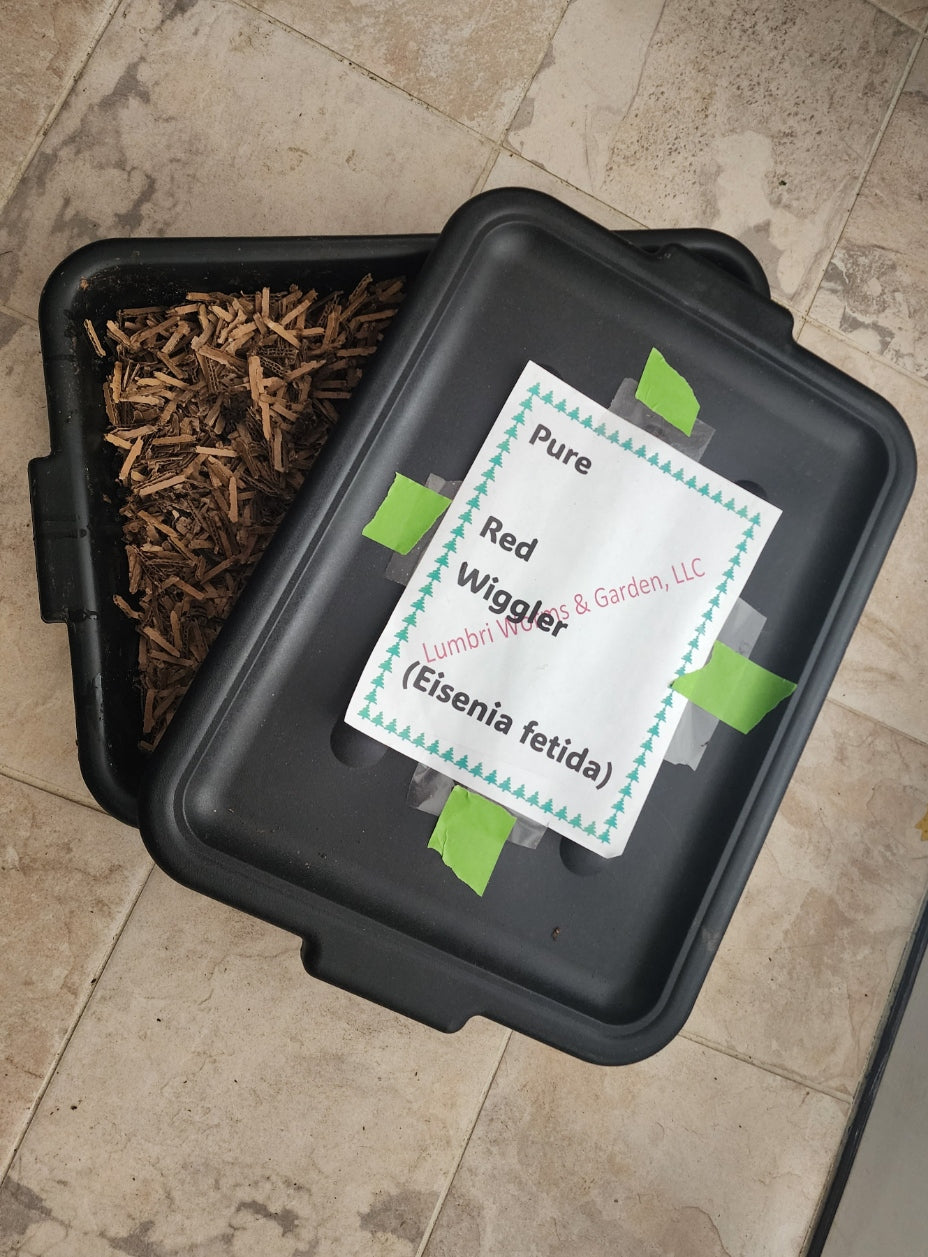
- Plastic storage totes
- Bus bins or mortar trays
- Commercial worm composting systems
- Repurposed containers suitable for vermicomposting
Whatever container you choose, it must provide proper ventilation, adequate space, moisture control, and protection from extreme temperatures.
Worms need oxygen, moisture, and darkness to thrive.
2. Prepare Your Bedding at Least 14 Days Before Adding Worms
This is one of the most important steps in successful vermicomposting!
Rather than introducing worms immediately into freshly prepared bedding, we recommend allowing your bedding to age for at least two weeks.
Why?
Because you're not just preparing a home for your worms. You're encouraging the development of a microbial ecosystem that helps feed them.
Recommended Bedding Materials
- Shredded, non-glossy cardboard
- Shredded, uncoated newspaper
- Coco coir
- Suitable peat moss, adjusted for acidity when needed
- Aged, pesticide-free leaves
- Small amounts of mature compost or established worm castings
- Finely ground eggshells or oyster shell flour
Mix your materials and gradually add water.
Your bedding should feel like a wrung-out sponge—moist but not dripping wet.
Keep the bedding loose and fluffy to allow oxygen to circulate.
The 14-Day Bedding Preparation Process
Day 1: Prepare Your Bedding
- Fill your container with approximately 4–6 inches of loose, moistened bedding.
- Add a handful of mature compost or established worm castings to introduce microorganisms.
- Add a small amount of finely chopped fruit or vegetable scraps.
- Bury the scraps beneath the bedding.
- Cover the bin while maintaining adequate ventilation.
Days 2–13: Grow Your Microbial Community
Allow the bedding to age while beneficial microorganisms colonize and begin decomposing the organic materials.
During this period:
- Maintain proper moisture.
- Monitor the bedding temperature.
- Check for earthy odors.
- Keep the bedding aerated.
- Avoid adding excessive food.
Microbial activity begins naturally, and the organic materials start breaking down.
Day 14: Check Your Bedding Before Adding Worms
The bedding should:
- Smell earthy, not sour or rotten.
- Be moist without standing water.
- Have adequate airflow.
- Be free from excessive heat.
- Have no strong ammonia odor.
If your bedding is still heating, fermenting, or producing unpleasant odors, correct those problems before introducing worms—even if more than 14 days have passed.
Lumbri's recommendation: Two weeks provides a useful preparation period, but safe bedding conditions matter more than the calendar.
3. Understanding What Worms Really Eat
Here's something many beginning worm farmers don't realize:
You're not simply feeding worms. You're feeding an entire ecosystem!
When you add fruit, vegetables, cardboard, or other organic materials to a worm bin, bacteria, fungi, and other microorganisms begin breaking them down.
As decomposition progresses, worms consume microorganisms together with the softened, decaying organic matter.
The microorganisms make nutrients more accessible while the worms help fragment, digest, and transform the materials.
This partnership is what makes vermicomposting so effective.
Think of your bin as a miniature ecosystem where microorganisms and worms work together to recycle organic waste.
The Lumbri Golden Rule:
PREPARE THE BEDDING → GROW THE MICROBES → ADD THE WORMS
4. Introduce Your Composting Worms
Once your bedding has aged and conditions are stable, it's time to introduce your worms.
Gently place your Red Wigglers or European Nightcrawlers onto the bedding surface.
Allow them to burrow naturally.
Give your worms time to adjust to their new surroundings, and avoid heavy feeding immediately after introducing them.
Keep the bin in a cool, shaded environment.
Ideal temperature range: 55°F–77°F.
Protect your worms from direct sunlight, freezing conditions, and excessive heat.
5. Maintain Proper Moisture
Moisture is essential because worms breathe through their skin, which must remain moist.
Your bedding should consistently feel like a wrung-out sponge.
If the bedding is too dry:
- Lightly mist with clean water.
- Add properly moistened bedding.
- Check that excessive ventilation isn't drying the bin.
If the bedding is too wet:
- Add dry shredded cardboard or paper.
- Check drainage and airflow.
- Reduce wet food scraps.
- Gently loosen compacted areas.
Avoid standing water and soggy bedding.
6. Maintain Proper Airflow
Worms and beneficial aerobic microorganisms need oxygen.
Poor airflow can lead to:
- Sour or rotten odors
- Excess moisture
- Compacted bedding
- Stressful conditions for worms
Keep bedding loose and well-aerated.
Periodically check for compaction and gently loosen affected areas as needed.
Avoid frequently disturbing the entire bin. Let your worms do most of the work!
7. Feed Your Worms Correctly
Overfeeding is one of the most common mistakes beginning worm farmers make.
Start small and increase feedings as your worm population grows and the colony processes food more efficiently.
For a small starter bin, you might begin with approximately one cup of chopped or previously frozen and thawed vegetable scraps per week, adjusting according to bin size and worm population.
Recommended Foods
- Fruit and vegetable scraps
- Previously frozen and thawed produce
- Coffee grounds in moderation
- Small amounts of suitable plant-based organic matter
- Shredded cardboard and other decomposing bedding
- Finely ground eggshells for calcium and grit
Foods We Recommend Avoiding
- Meat and fish
- Dairy products
- Greasy or oily foods
- Salty or heavily seasoned leftovers
- Garlic and onions
- Large quantities of citrus
- Spicy foods
Feeding Tips
Bury food scraps in the bedding rather than leaving them exposed.
Rotate feeding locations to encourage worms to move throughout the bin.
Cover food scraps with shredded cardboard, newspaper, or other suitable bedding materials.
Only add more food when most of the previous feeding has broken down.
Remember: The goal is controlled decomposition, not a container full of rotting food.
8. Monitor Your Worm Bin Regularly
A healthy worm bin should have:
- An earthy smell
- Moist, fluffy bedding
- Comfortable temperatures
- Active worms
- Gradual food decomposition
- Minimal pest activity
Check your bin weekly, especially during temperature changes or when adjusting feeding amounts.
Common Problems and Solutions
Worms Trying to Escape
Check temperature, moisture, airflow, odors, and food conditions. New worms may also wander while adjusting.
Bad Smells
Often indicate excessive feeding, poor airflow, or overly wet bedding. Remove problem food, add carbon-rich bedding, and reduce feeding.
Fruit Flies and Fungus Gnats
Bury food scraps, maintain a bedding cover, and avoid overfeeding. Freeze and thaw produce before feeding to help reduce some pest introductions.
Excess Moisture
Add shredded cardboard, improve airflow, and correct drainage problems.
Bedding Too Acidic
Reduce acidic inputs and consider small amounts of finely ground eggshell or oyster shell flour. If problems persist, test the bedding pH before adding more amendments.
9. Harvest Your Worm Castings
As worms and microorganisms process organic materials, the bedding gradually becomes dark, crumbly vermicompost containing worm castings.
These materials can help improve soil structure, moisture retention, and nutrient availability.
When Is It Time to Harvest?
Look for:
- Dark, crumbly material
- Much of the original bedding broken down
- Fewer recognizable food scraps
- A pleasant, earthy smell
One harvesting method is to move finished material to one side of the bin and place fresh bedding and food on the other side.
Over time, many worms will migrate toward the fresh food, making it easier to separate them from the finished vermicompost.
Return worms and cocoons to the active bin whenever possible.
10. Remember: You're Managing a Living Ecosystem
A productive worm bin depends on the relationship between microorganisms, organic materials, moisture, oxygen, temperature, and worms.
When these elements are balanced, composting worms can thrive, reproduce, and produce valuable castings.
At Lumbri Worms & Garden, LLC, we encourage beginners to focus on creating the proper environment before worrying about how quickly their worms consume food.
Healthy bedding supports beneficial microbes. Beneficial microbes help break down organic matter. Together, microbes and worms create rich vermicompost.
The Lumbri Golden Rule
PREPARE THE BEDDING. GROW THE MICROBES. ADD THE WORMS. MAINTAIN THE ECOSYSTEM.
Give your worm bin at least two weeks of preparation time, monitor its conditions, and allow nature to do what it does best.
Healthy Worms + Healthy Microbes = Healthy Soil!
Learn More With Lumbri Worms & Garden, LLC
We offer premium composting worms, worm castings, worm composting supplies, and vermicomposting education for beginners and experienced growers.
Lumbri Worms & Garden, LLC
Founder: Aya Finley
Website: https://www.lumbriworms.com
Call or Text: 951.833.4829
Growing Healthy Soil, One Worm at a Time!