What is Pre-Compost? A Complete Guide to Preparing Organic Materials for Worm Bins - Lumbri Worms and Garden LLC
Share
Pre-composting is the process of breaking down organic materials before adding them to your worm bin or compost system. This step jump-starts decomposition, making food easier for worms to digest, preventing odor problems, and reducing heat spikes that can harm your worm population. By pre-composting, you create a balanced, microbe-rich environment that worms thrive in.
Why Pre-Composting Matters
When organic matter begins breaking down before entering your worm bin, you:
- Speed up the composting process
- Avoid foul smells and pests
- Prevent harmful temperature spikes
- Maintain a healthy microbial balance
Carbon & Nitrogen in Pre-Composting
In composting, materials are categorized into:
- Carbon-rich “browns” – Provide energy and structure
- Nitrogen-rich “greens” – Provide protein and moisture
The goal is to achieve a C:N ratio of 25–30:1 for optimal breakdown.
Examples of Carbon-Rich Materials (Browns):
- Dry leaves
- Shredded cardboard
- Non-glossy newspaper
- Straw
- Wood chips & sawdust
- Corn cobs & stalks
- Unbleached paper towels
- Dead, dried plants
Examples of Nitrogen-Rich Materials (Greens):
- Fruit & vegetable scraps
- Coffee grounds
- Grass clippings
- Herbivore manure (aged or fresh)
- Fresh plant trimmings
- Kitchen scraps (no meat or dairy)
- Tea bags (plastic-free)
C:N Ratios for Common Compost Materials
- Dry leaves – 50:1
- Straw – 75:1
- Newspaper – 175:1
- Wood chips – 400:1
- Cardboard – 350:1
- Coffee grounds – 20:1
- Grass clippings – 17:1
- Kitchen scraps – 15–20:1
- Cow manure – 12–20:1
- Chicken manure – 6–10:1
- Sawdust – 325:1
- Veggie scraps – 25:1
Step-by-Step Pre-Compost with Coffee Grounds, Cardboard, & Vegetable Scraps
You’ll Need:
- Spent coffee grounds (20:1)
- Shredded cardboard (350:1)
- Chopped vegetable scraps (25:1)
- Compost bin or pile
- Water (as needed)
- Gloves, scissors/shredder (optional)
Suggested Ratio for Balance:
- 2 parts coffee grounds (greens)
- 3 parts shredded cardboard (browns)
- 1 part vegetable scraps (greens)
Instructions:
- Prepare Materials – Cool coffee grounds, shred cardboard, chop vegetable scraps.
- Layer – Start with cardboard, then coffee grounds, then vegetable scraps. Repeat until all materials are used.
- Mix – Aerate with a compost fork to introduce oxygen.
- Check Moisture – Aim for the feel of a wrung-out sponge. Add cardboard if too wet, water if too dry.
- Aerate Regularly – Turn every few days to prevent odors and overheating.
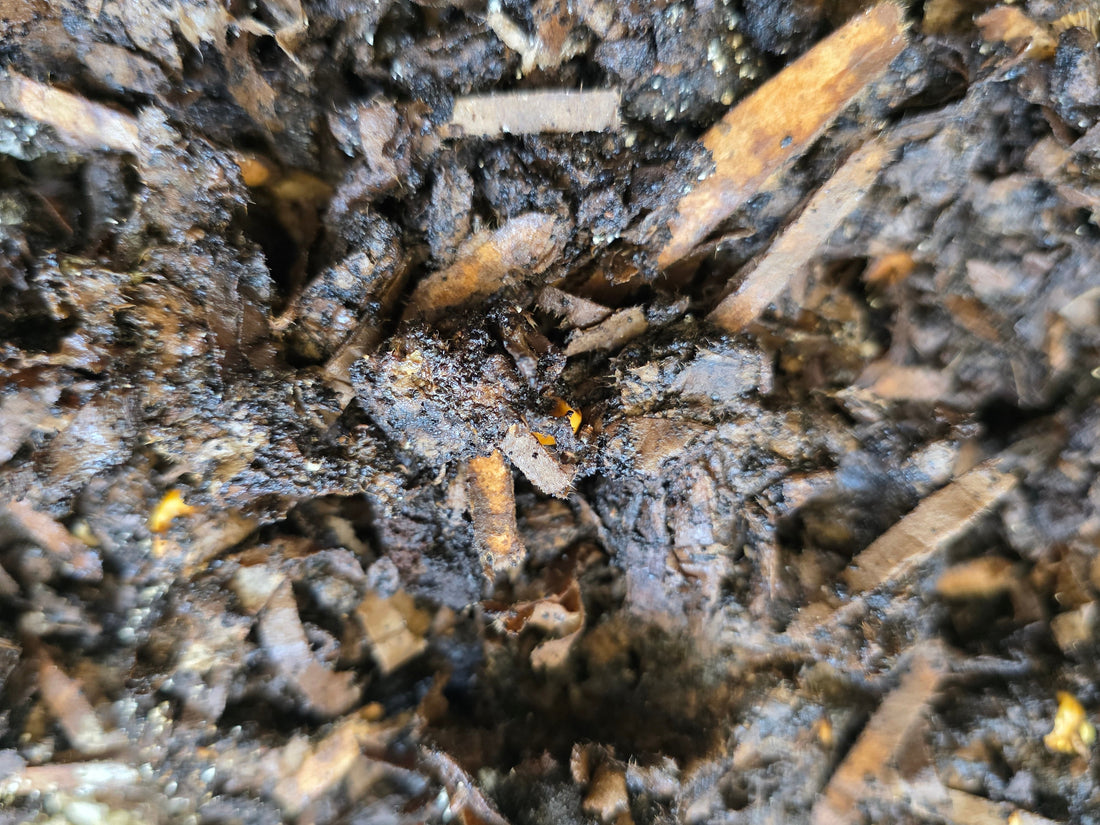
- Monitor Breakdown – Ready in 1–3 weeks when soft, earthy-smelling, and partially decomposed.
- Feed Your Worms – Add small amounts to the worm bin to avoid overfeeding.
Pro Tips for Pre-Composting Success
- Keep it balanced: Too wet? Add browns. Too dry? Add greens or water.
- Avoid contaminants: No plastic, metal, or chemically treated materials.
- Watch the heat: If the pile feels hot, let it cool before feeding worms.
Conclusion:
Pre-composting is the secret to a healthier, more productive worm bin. By balancing carbon and nitrogen sources like coffee grounds, shredded cardboard, and vegetable scraps, you create a nutrient-rich, worm-friendly food source that accelerates composting and boosts garden soil health.
Ready to start your own worm bin? Browse our Composting Worms and Worm Farm Supplies to get started today!